
Boldport Club Secret Santa - Build Log
As I have written about previously I’m a member of the Boldport Club. Apart from producing amazing DIY electronics projects it’s also a great community where electronics interested people interact. Like many communities, this christmas one member took the initiative to organize a secret santa. I thought this sounded like an excellent idea an signed up to this. You can see the end result on my Instagram. This blog post is a short description of what I made and what the process looked like.
At first I tried to do some online stalking of my recipient to figure out what would be a suitable gift. Unfortunately, that person both had a fairly common name and not a super strong (publicly available) online presence so I was out of luck. I wanted to give something somewhat related to the electronics or “maker” theme but did’nt think I had the skills and time to design some kind of electronics circuit. After some thinking I realized that I own a 3D printer (genius moment) and should be able to do something fun with that. I also had no idea of interests or skill level of the person but I figured that chocolate and books are two things most people can enjoy. I decided to create some kind of bowl, fill it with chocolate and an Audible gift card with a few suggestions of books that I enjoy. It’s always good with a bit of personal touch. Ideally, I would have designed the bowl mysqlf but I was running a bit short on time so I went to Thingyverse to find inspiration and found an adorable skull model.
The plan was laid out and I started to get going with this creation. The first step was to get new filament for the printer as it ran out while printing the first prototype.

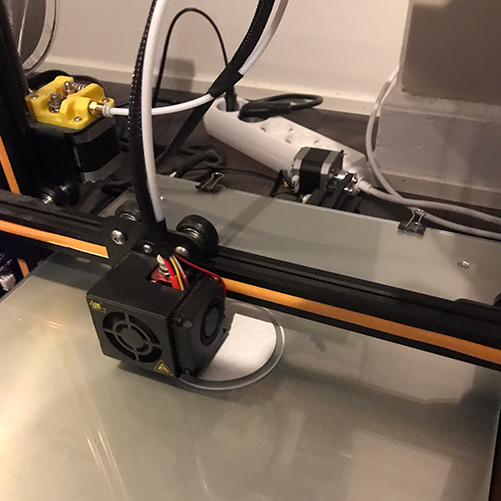
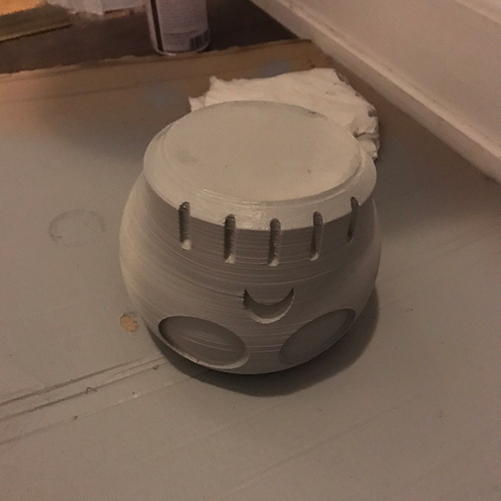
I could then continue with printing a small prototype of the skull to check that the printer was still doing fine and that my settings were good.
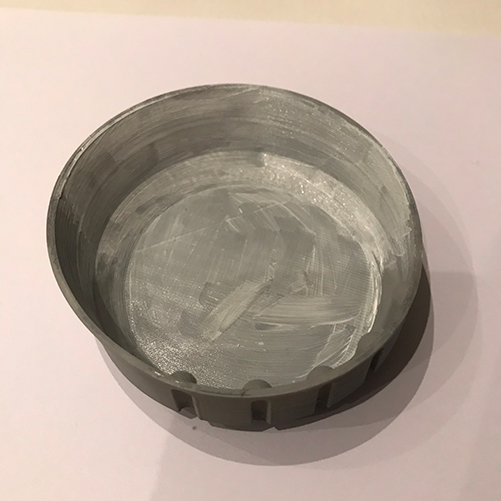
As you can see, this was printed with too thick layers which led to this rough result. For the real copies I went with a finer setting.
The print was estimated to take about nine hours so I started it in the morning and went to work.
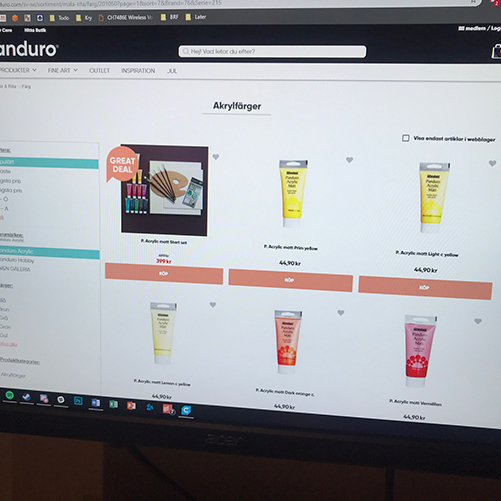
After consulting my Warhammer playing friends I started to look for acrylic paints to buy and paint the bowls with.
The prints took slightly longer than estimated.
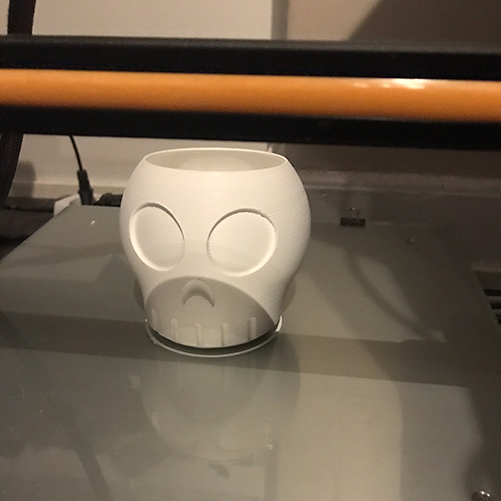
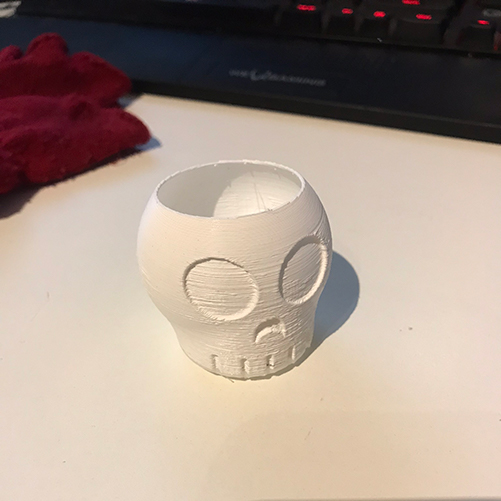
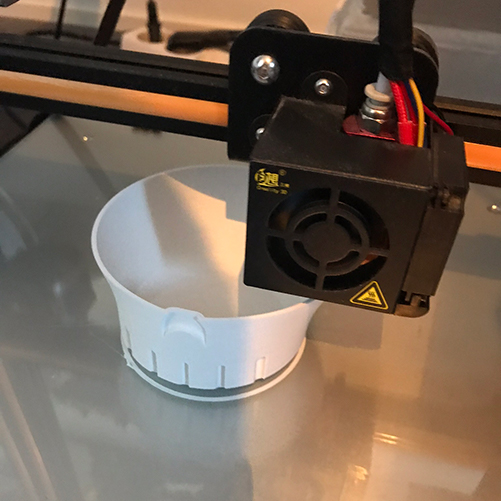
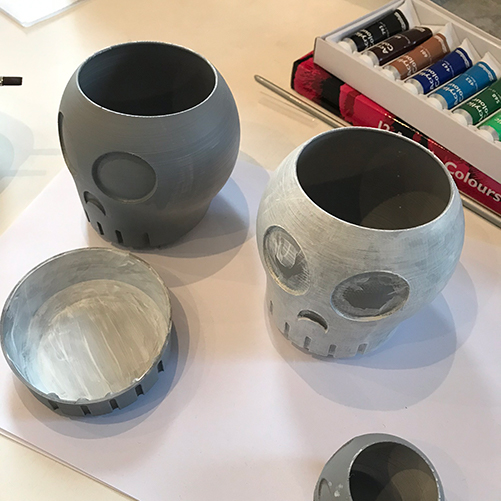
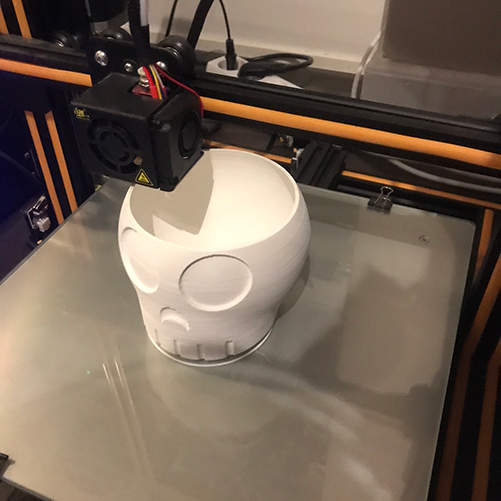
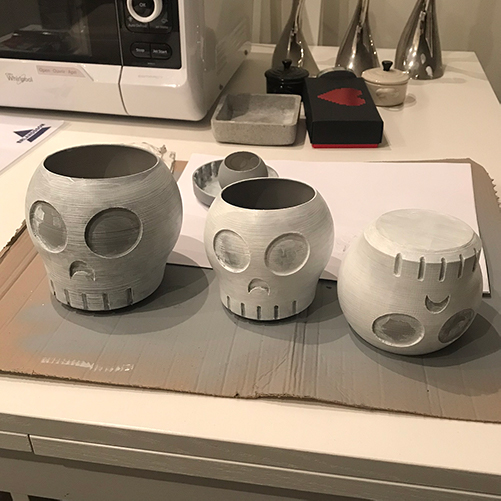
Eventually, the first full size copy was done. It was printed at 50% of the size of the original model as that seemed like a suitable size for a smaller bowl.
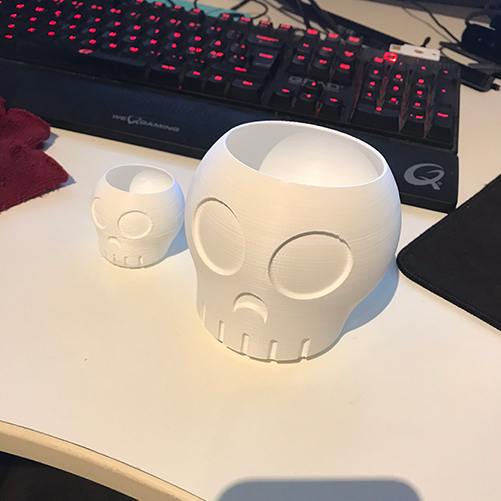
Now I had a small prototype and one proper copy.
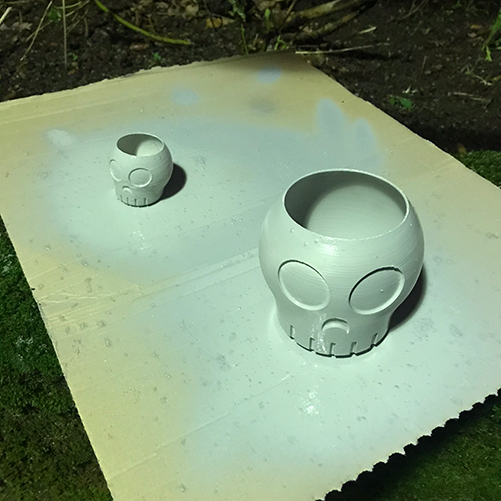
While starting printing the second skull, I went ahead and sprayed the skulls with primer spray which is necessary for the paint to properly stick to the surface.
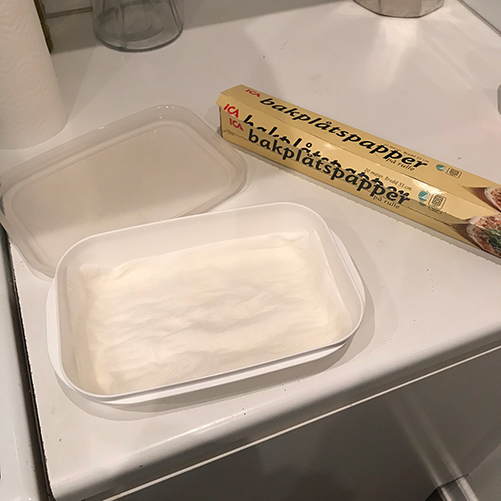
I also created a “wet palette” on recommendation from my figure painting friend.
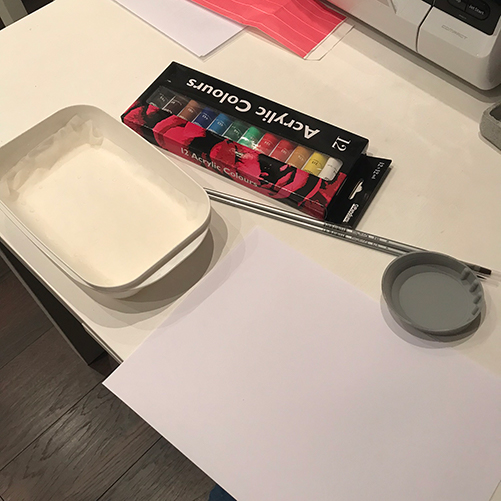
I also went and bought some acrylic paints and pencils. It was really difficult to get hold of these paints. I guess a lot of people are doing arts and crafts for christmas.
I started by trying out the paint on a spare part I got when I ran out of filament at the beginning of the project. It settled fairly well but it was obvious that it would require multiple layers of white paint to get it right.
While spraying the second skull I started to apply a few layers of white paint to the first skull.
I then started painting the second skull as well.
Meanwhile I started to print the third and final skull. I made this slightly larger (60% or original size). This had to wait until the Friday as I made an unfortunate dosciver earlier the week. After finishing the first print which had run during the day, I tought I would be clever to let the second one run overnight and have it done by the morning. I started the print maybe an hour before going to bed but just as I was about to turn out the lights I get a message from my downstairs neighbour saying: “hi, do you know anything about some mechanical noises? It sounds like someone is playing a racing game or something.” Apparently, the noise from the 3D printer went straight through the floor. This is probably due to it being placed directly on the floor. Anyway, this meant that printing overnight wound’t work. This was not an issue for the second skull but for the third one it was estimated to 16 hours. My neighbour said that Friday is fine since he will be out partying anyway so the printer could run from early Friday morning well into the evening.
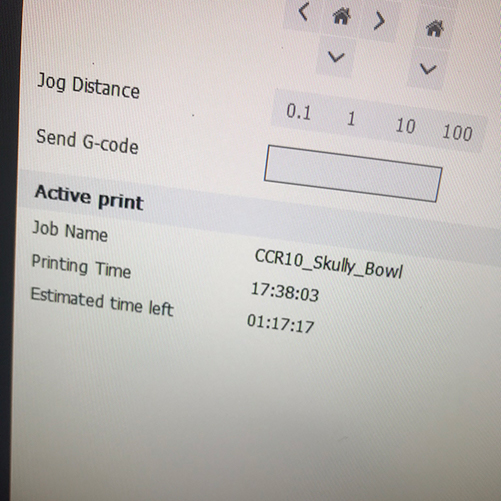
Again, Cura (which I use for printing) and my printer don’t seem to agree on times.
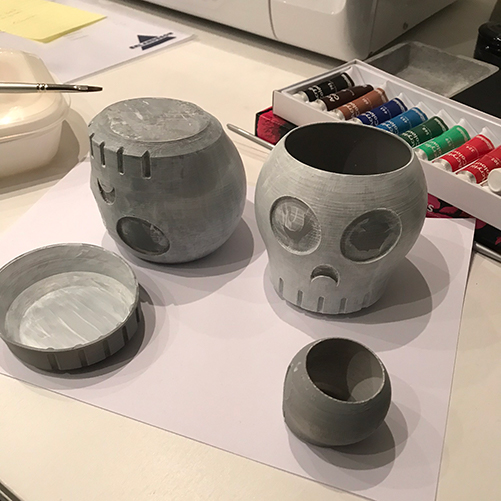
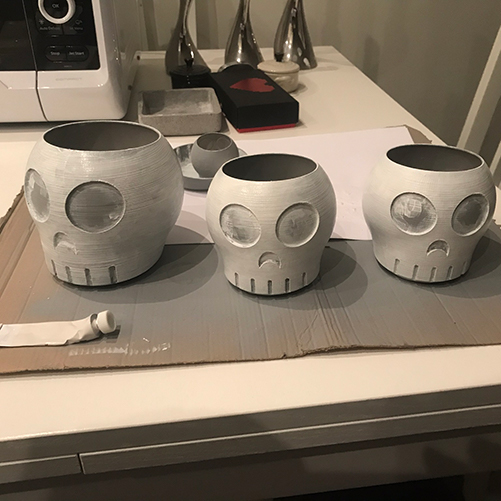
Eventually, I had all three skulls sprayed at last.
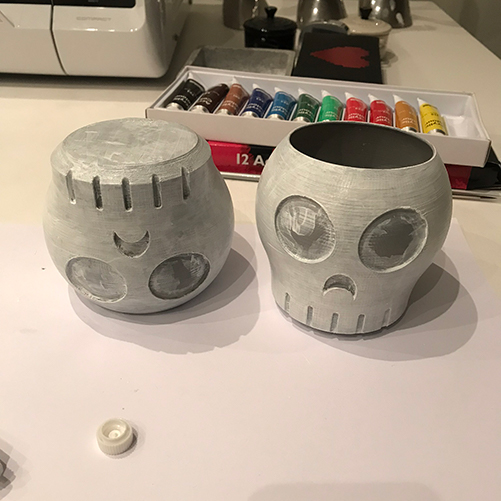
I continued adding layers of white paint to all of them.
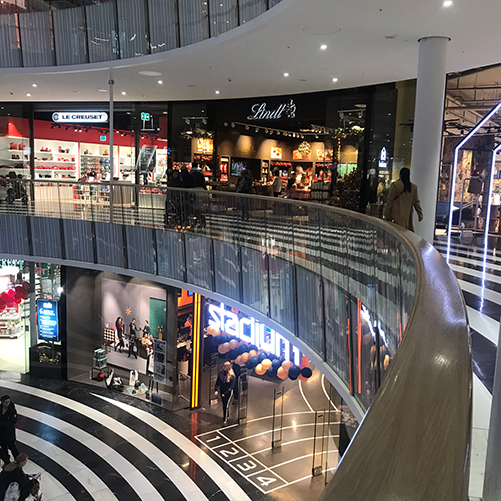
I also went to the shopping mall to get some nice chocolate.
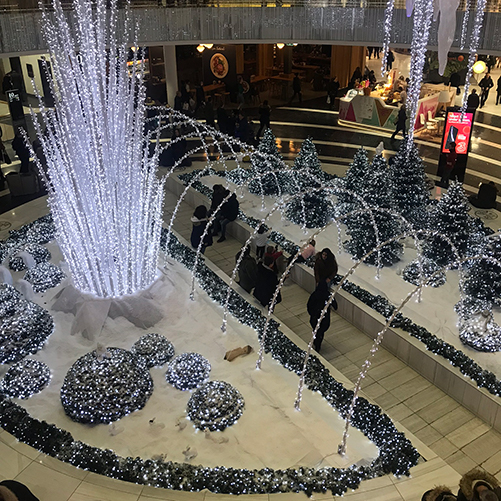
They had replaced the fountain with some nice christmas decorations.
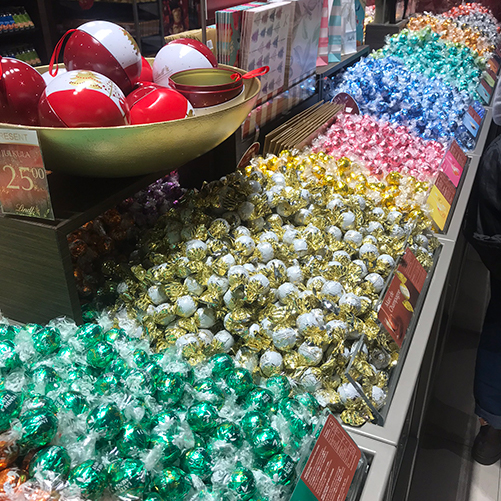
Look at all that chocolate.
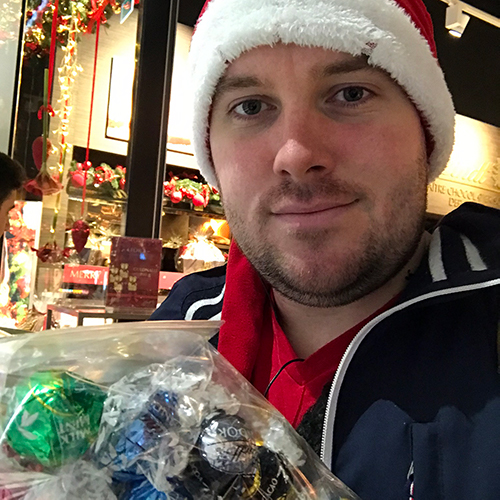
I bought a generous bag to have plenty for the gift but maybe also leave some spare ones to the maker.
I put on even more layers of white paint.
And even more. I think it took four to six layers in total per skull.
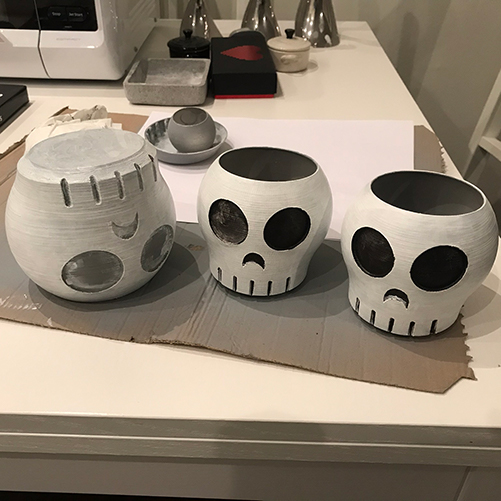
When they were white enough (and I had even ran out of white paint), I started painting the eyes, mouth and teeth.
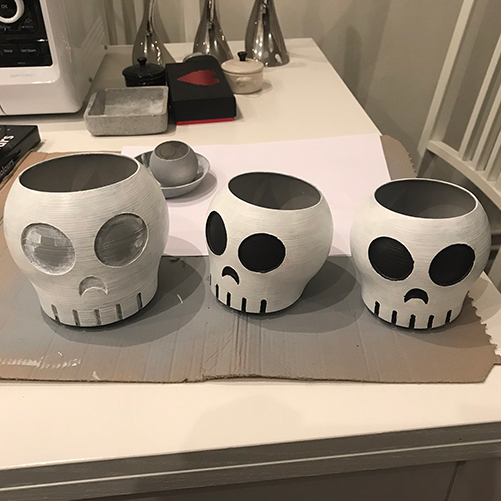
This only required two layers to get a good look.
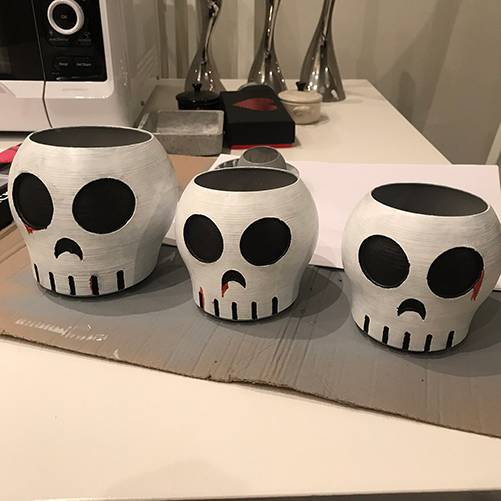
I then added some blood (aww yeah, metal!) details with a mix of red and black paint. I’m very proud of the very rusty blood red I managed to mix up.
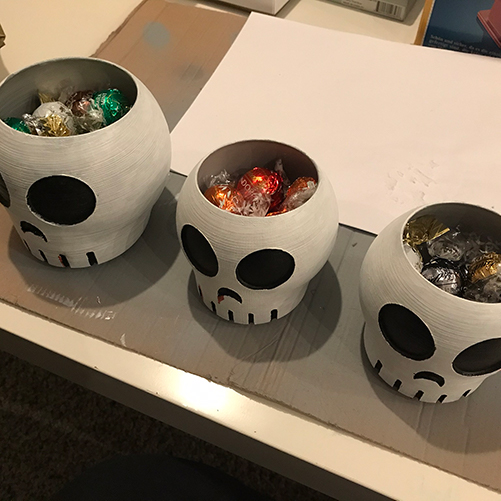
The bowl were then filled with chocolate.
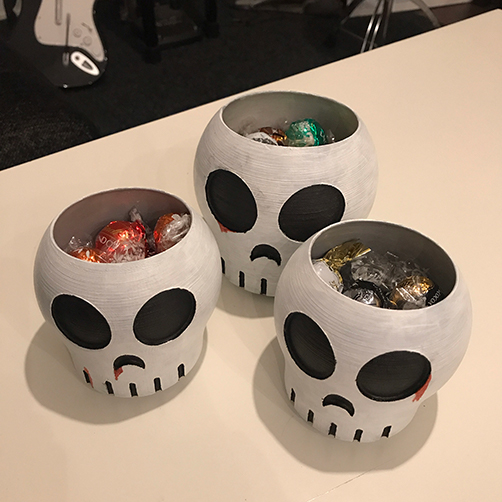
I put them in a nice arrangement and named them Manny, Mercedes and Salvador. Shame on anyone who doesn’t get that reference.
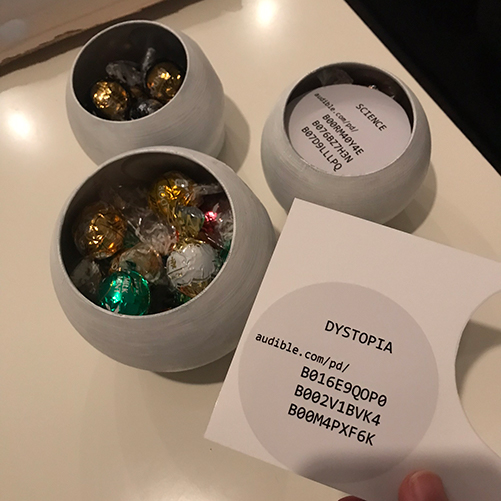
I then added in the book suggestions according to three themes as “lids” on the skulls.
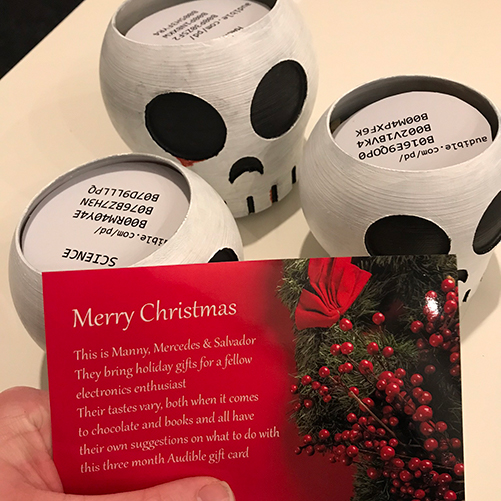
Finally, I made a nice christmas card (based on a CC0 licensed christmas image, copyright is no joke kids).
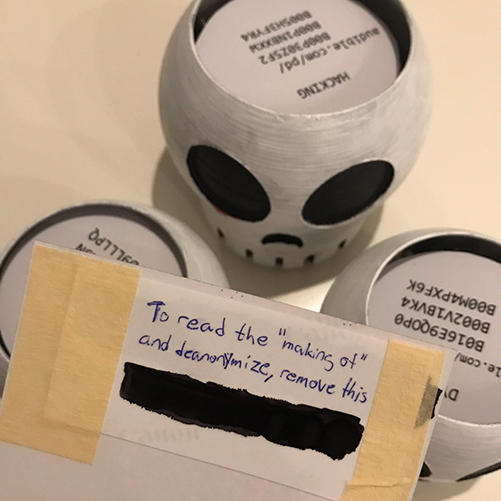
I gave the recipient the option to get to this blog post or not.
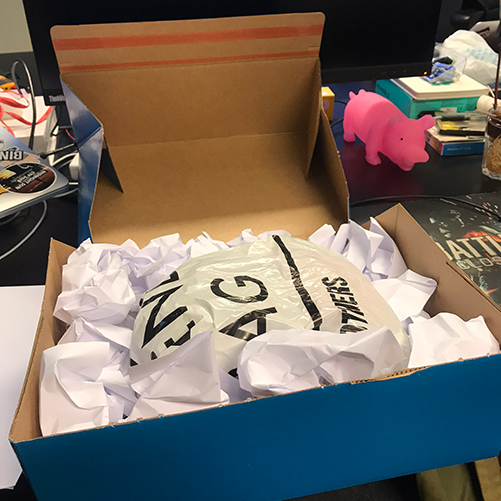
I brought everything to work where I packed it in a box with some nice padding and sent it off to its recipient. I hope it will make a nice christmas gift. It was great fun doing this project as it involved some nice traditional arts and craft which I really haven’t done much of in many years. Hopefully this will inspire me to make something else in the future. One thing I will post as soon as possible is materials from all the talks I’ve been giving throughout the fall. I will try to get that up here before the end of the year and I will hopefully be back next year with some nice security projects. Until then, merry christmas and a happy new year.